

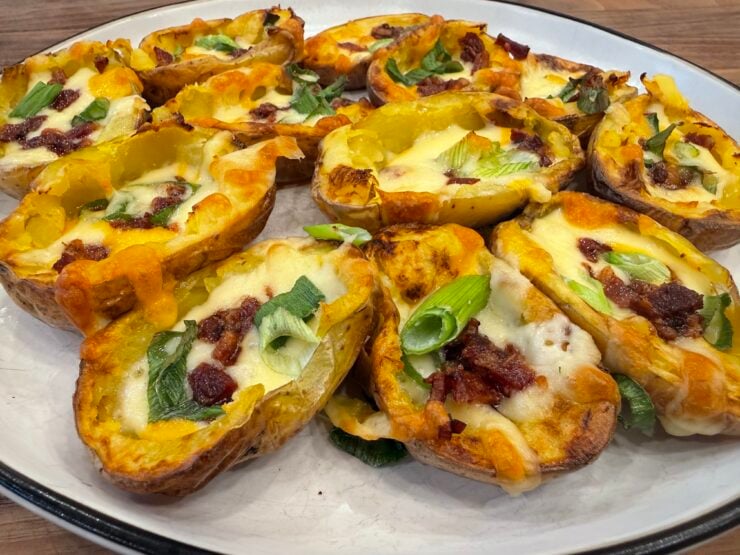
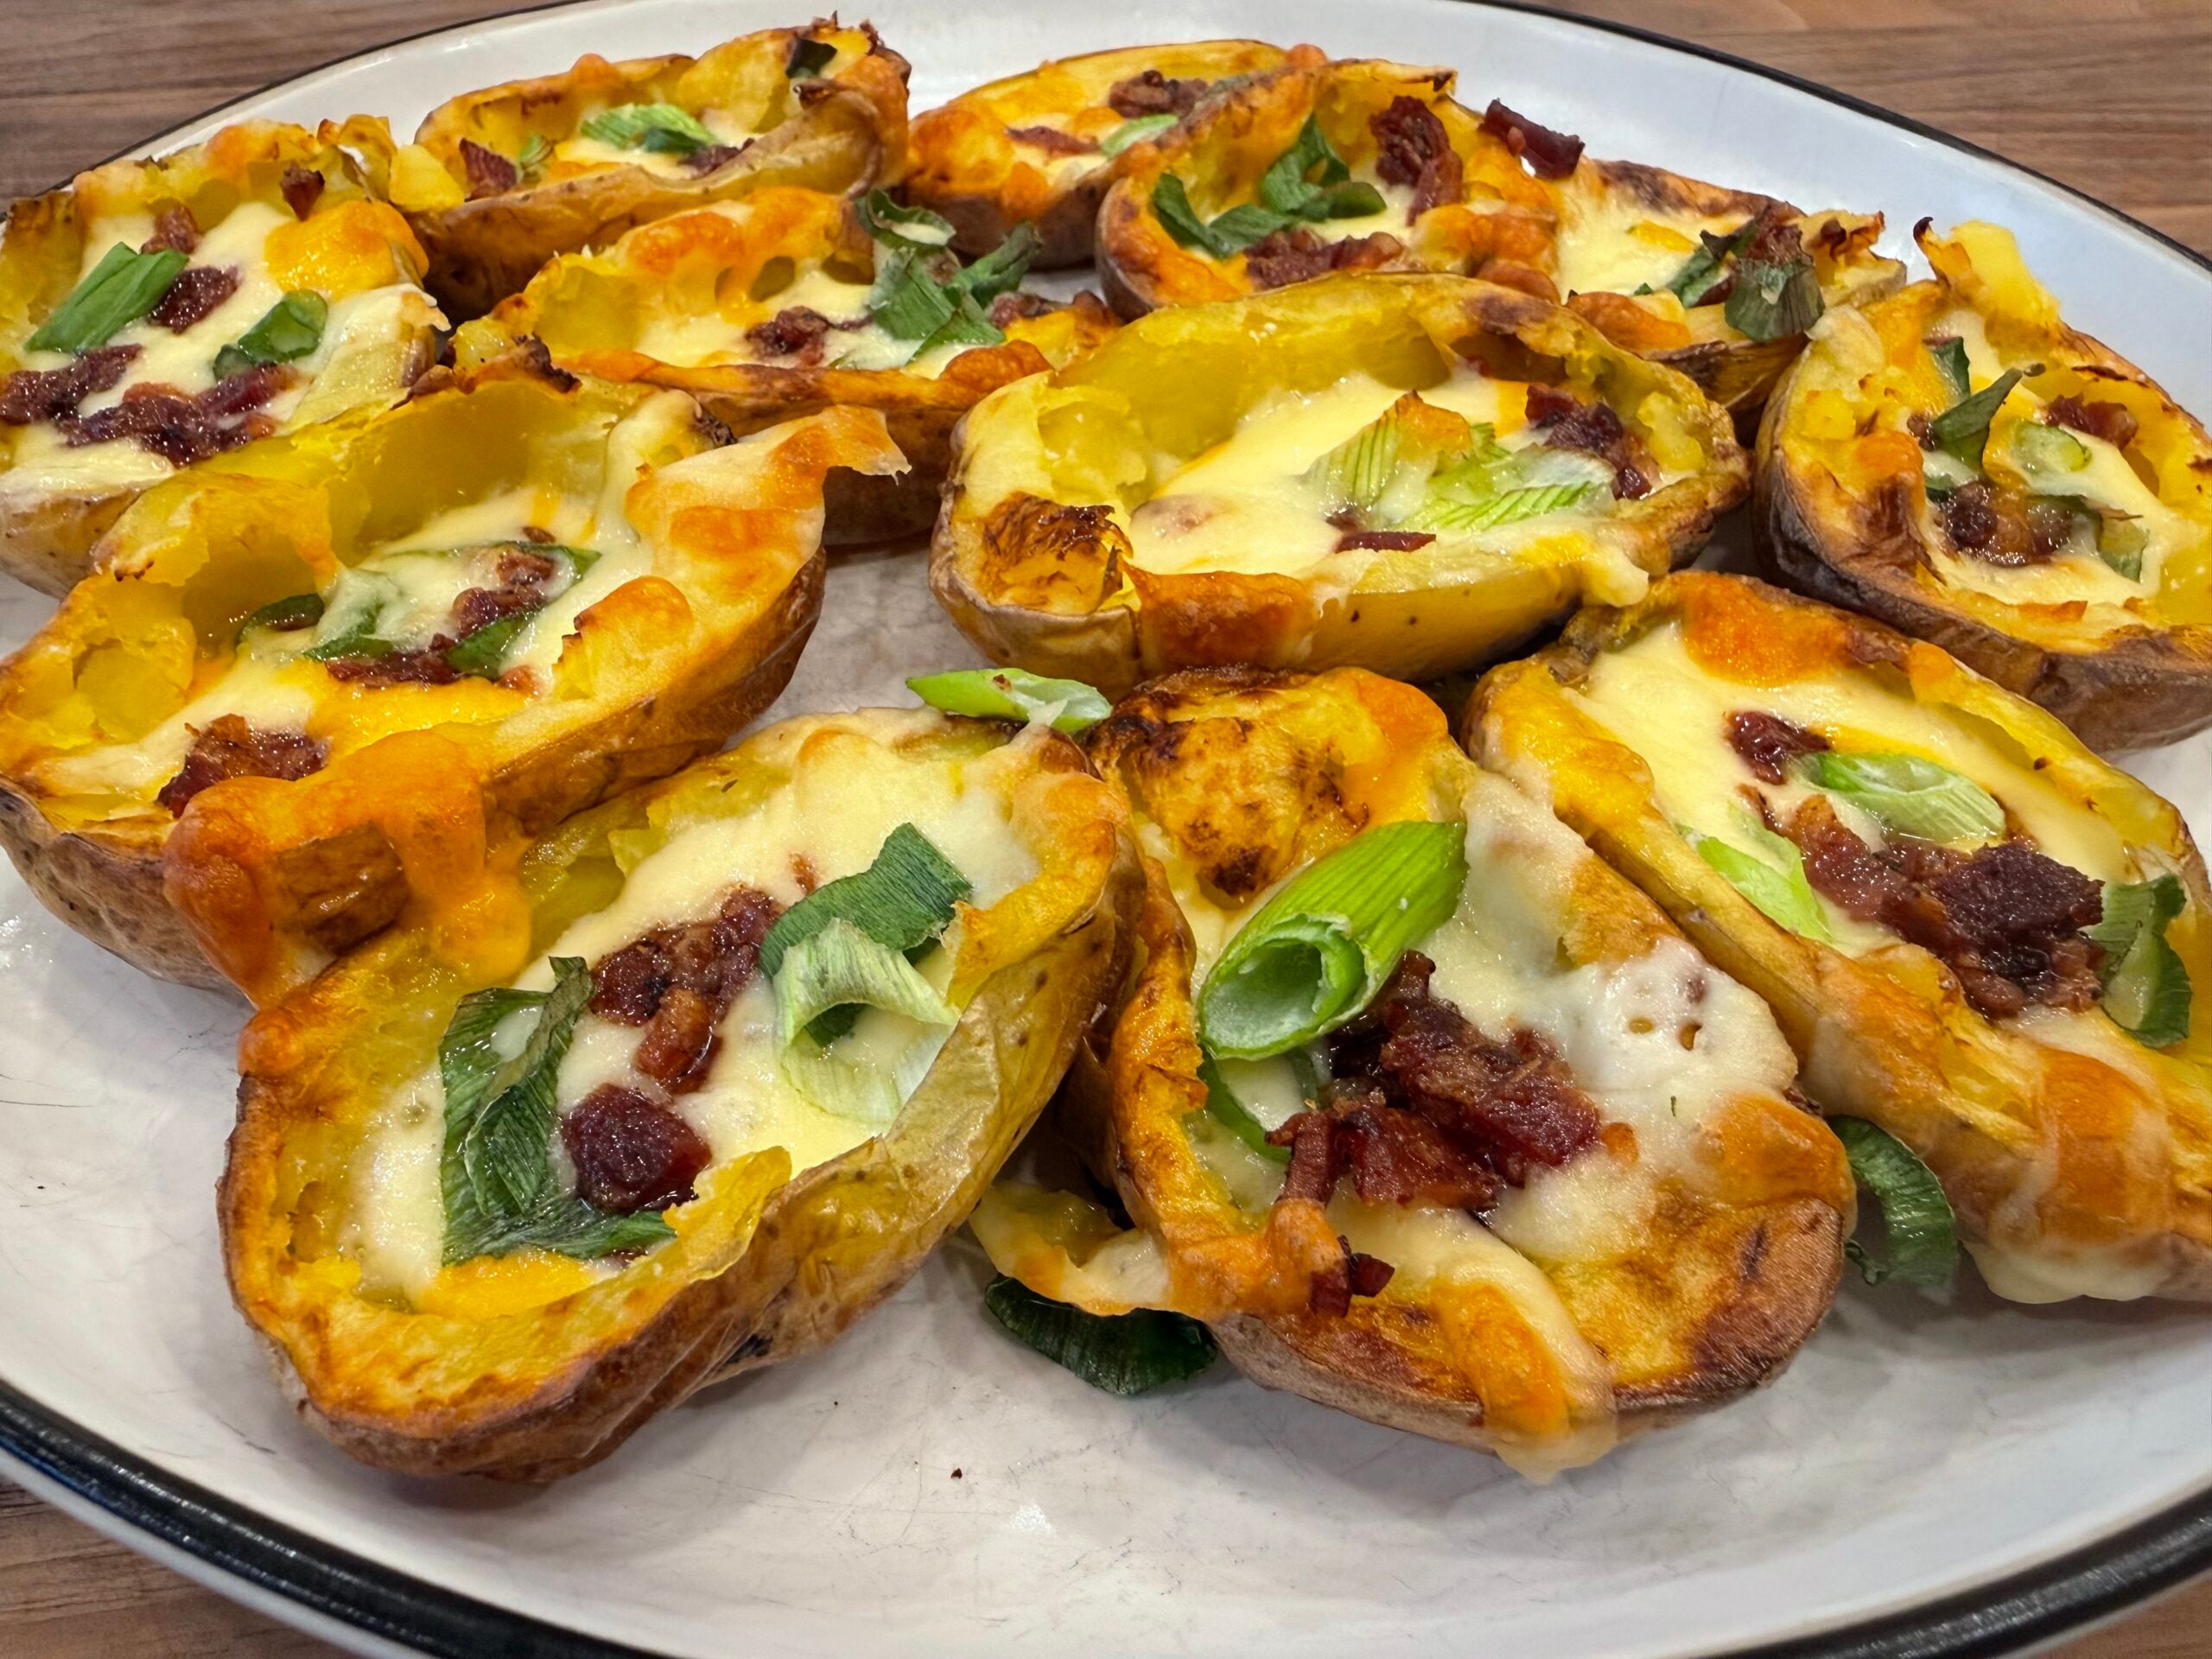
Loaded potato skins have a nasty habit of disappearing as soon as they’re on the table! Made with small gold potatoes, these skins are perfect two-bite appetizers, and require no fork or knife!
Potatoes are roasted until tender and then their innards are scooped out. Shells are roasted again, this time with garlic butter until the edges are nice and crispy. Piles of sharp cheddar cheese and bacon are nestled into each potato, and cooked just long enough for the cheese to melt. Finish them up with some sour cream and chives. No floppy potato skins here like you’d get at the restaurant!
They’re easy to make for a crowd, they look great on a platter, and they happen to be naturally gluten free. That makes them an easy pick when you’re hosting and not sure what everyone can eat.
Why Small Gold Potatoes Work So Well
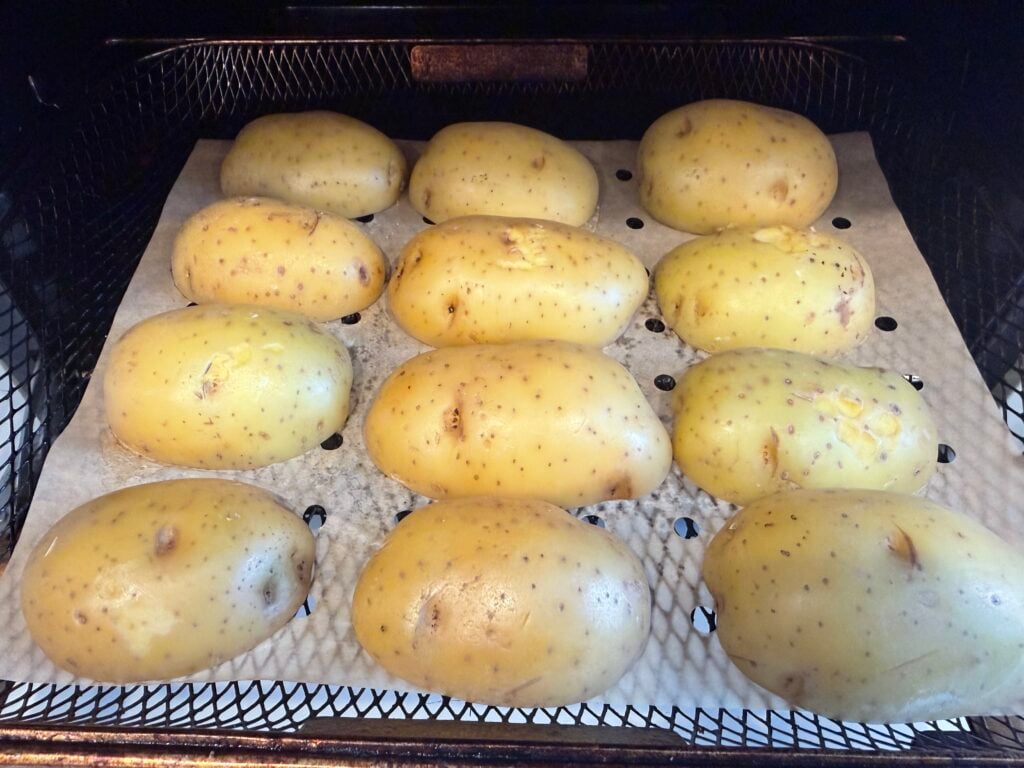
Traditional potato skins are made from large Russets, so each skin is essentially its own meal. Smaller gold potatoes offer the perfect portion control. You get two mini boats per potato. They’re perfect for serving at parties.
Gold potatoes have thin, tender skin and a naturally buttery flavor. The skins crisp up in the oven and stay delicate. Find potatoes around 2 inches wide to ensure even cooking.
What You Need
The ingredients list is short. You likely have most, if not all of the ingredients. The small gold potatoes are the only vegetables needed; they get tossed with olive oil, salt, and pepper, then roasted.
Brush the insides of the scooped-out skins with a mixture of melted butter and a little garlic powder. It’ll brown up crisply and add tons of flavor.
Use sharp cheddar. The stronger flavor will complement the bacon. Hand-grated block cheese will melt more smoothly than bagged shredded, though bagged cheese will work just fine. Cook the bacon until very crispy and crumble. There’s only a couple of minutes in the oven, so it’ll stay crispy.
Finish the skins with a spoonful of cold sour cream and some snipped fresh chives. It adds a restaurant-y touch, as well as some cool, fresh flavor against the crispy skins.
How to Make Loaded Potato Skins
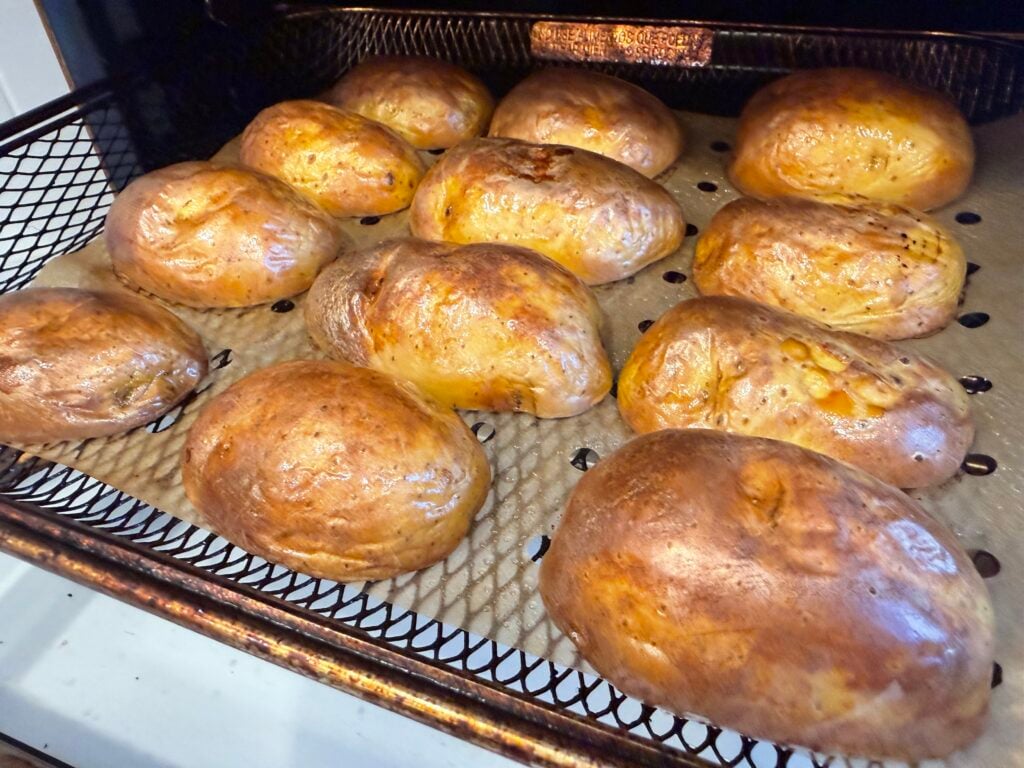
Start by roasting the potatoes whole at 425°F until a fork slides in easily, about 25 to 30 minutes. Roasting them whole keeps the insides fluffy and makes them much easier to scoop later.
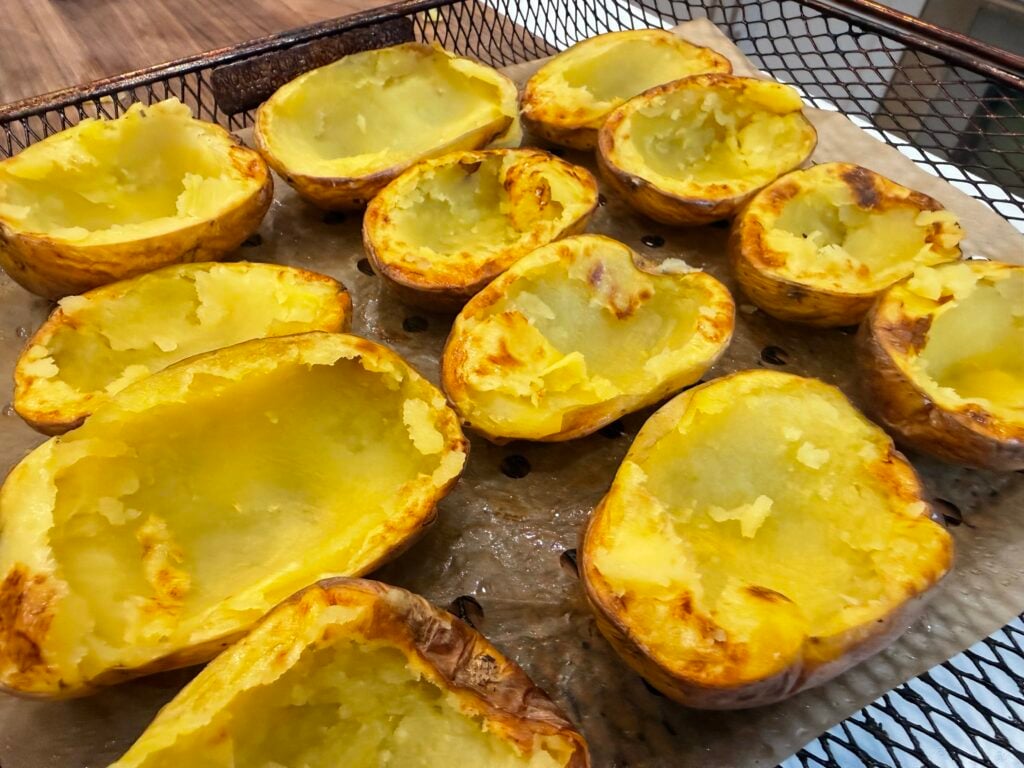
Let potatoes rest for about 10 minutes to cool. Slice potatoes in half lengthwise. Use a small spoon to scoop out insides of potatoes, leaving a rim connected to potato skin (this will help them to hold together). Smear garlic butter over each potato half.
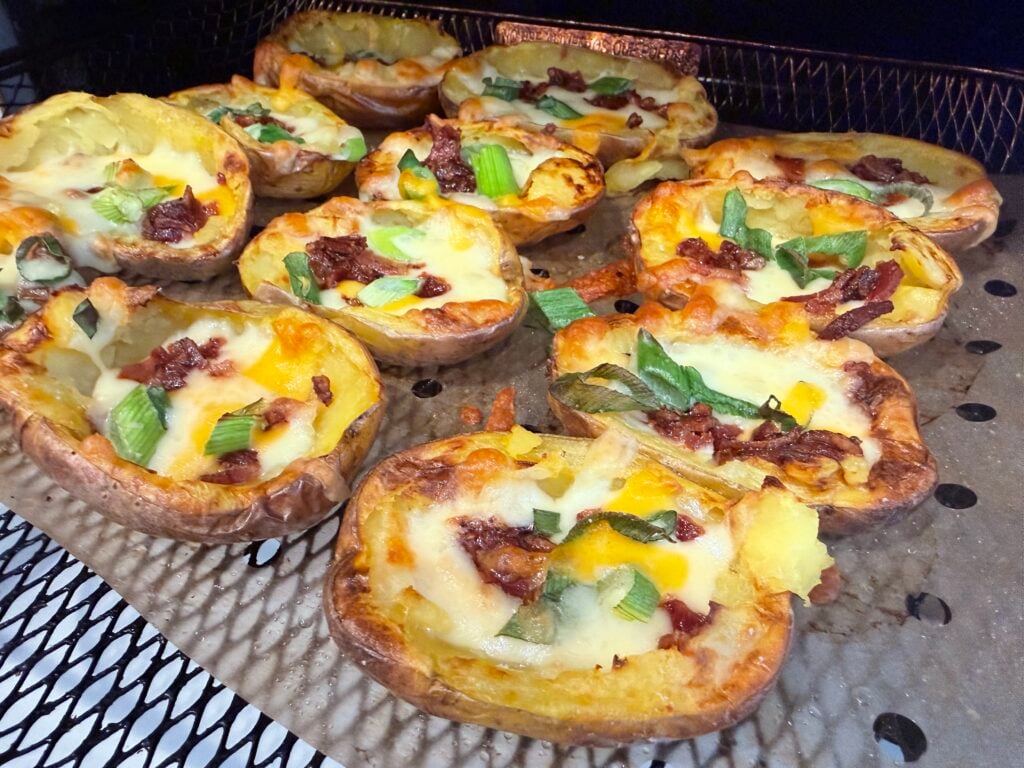
Place in oven cut side up and bake 8-10 minutes, until crispy (this step cannot be skipped as it helps the skins to crisp). Remove from oven, fill boats with bacon and cheddar, return to oven an additional 5 minutes, or until cheese is bubbly.
Remove from oven, top with a small spoonful of sour cream and sprinkle of chives. Serve warm.
Tips for Extra Crispy Skins
Dry the potatoes well after washing them. Any water left on the skin will steam instead of crisp.
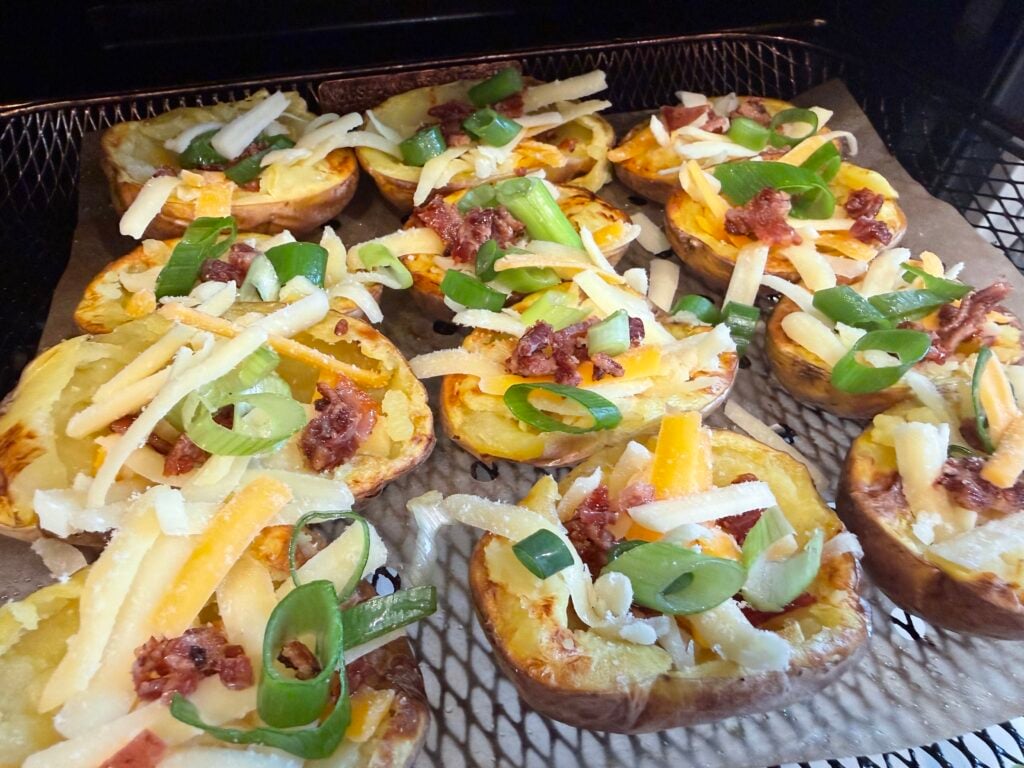
Don’t hollow out too much of the potato – you want them to be sturdy enough to hold! If you scoop the potatoes all the way down to the skins, they could potentially rip or crumble and you’ll be left with potato chips, not potato boats.
Don’t crowd the potato skins on the sheet pan. Give them some space! (Use a second sheet pan if necessary). If they are too crowded together, the skins will steam each other and won’t be as crisp – they’ll be soft!
Save the potato flesh you scoop out – perfect for a batch of potato soup or some yummy mashed potatoes the next day – no food waste here!
Easy Topping Ideas
The classic cheddar and bacon combo is hard to beat, but these are easy to switch up. For a little heat, add pickled jalapeños and use pepper jack instead of cheddar.
For a buffalo version, mix shredded chicken with a little hot sauce, fill the skins, and finish with ranch instead of sour cream. You can also go with broccoli and cheddar for a meatless option that still feels hearty.
If you’re putting out a big spread, make half the tray one way and half another. People love having a choice.

Are Loaded Potato Skins Gluten Free?
Yes, these are naturally gluten free. Potatoes, cheese, bacon, sour cream, and chives don’t contain gluten on their own.
If you’re cooking for someone with celiac or a strong sensitivity, check the labels on the bacon and the shredded cheese. A few brands use seasonings or anti-caking additives that can contain gluten. It’s also smart to keep them away from boards or pans that have had bread or crackers on them.
Make Ahead, Storage, and Reheating
These are a great make ahead appetizer. Roast, scoop, and crisp the skins up to a day early, then keep them covered in the fridge. When guests are on the way, fill them with cheese and bacon and bake for about 10 minutes until hot and melty. Add the sour cream and chives right before serving.
Leftovers keep in an airtight container in the fridge for up to 3 days. Reheat them in the oven or air fryer at 375°F for 5 to 8 minutes. The microwave works in a pinch, but the skins will lose their crunch.
Ingredients
- 12 small gold potatoes about 1 1/2 lb
- 1 tablespoon olive oil
- 1/2 teaspoon salt
- 1/4 teaspoon black pepper
- 2 tablespoons butter melted
- 1/4 teaspoon garlic powder
- 1 cup shredded sharp cheddar
- 6 slices bacon cooked and crumbled
- 1/2 cup sour cream
- 2 tablespoons chopped chives
Instructions
- Heat oven to 425°F.
- Toss potatoes with oil, salt, and pepper.
- Roast whole 25 to 30 minutes, until tender.
- Cool 10 minutes.
- Halve lengthwise and scoop out centers, leaving a thin layer.
- Mix butter and garlic powder. Brush inside skins.
- Bake cut side up 8 to 10 minutes, until crisp.
- Fill with cheddar and bacon.
- Bake 5 minutes, until melted.
- Top with sour cream and chives.


Add comment