

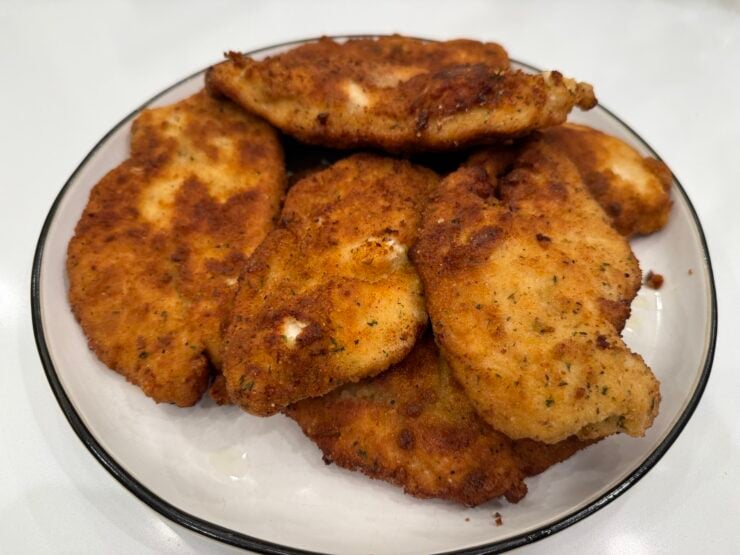
If I closed my eyes I could make a chicken cutlet. Not because I grew up around grandmothers, but because of a job I had in high school.
I was a prep cook at a retirement home, and one of my primary duties was to prepare the chicken cutlets for dinner service. Not a dozen cutlets. Not fifty cutlets. I would prepare more than 500 chicken cutlets for one dinner service. Slice, pound, flour, egg, breadcrumbs and repeat until all the trays were filled and dinner was ready to go out on time.
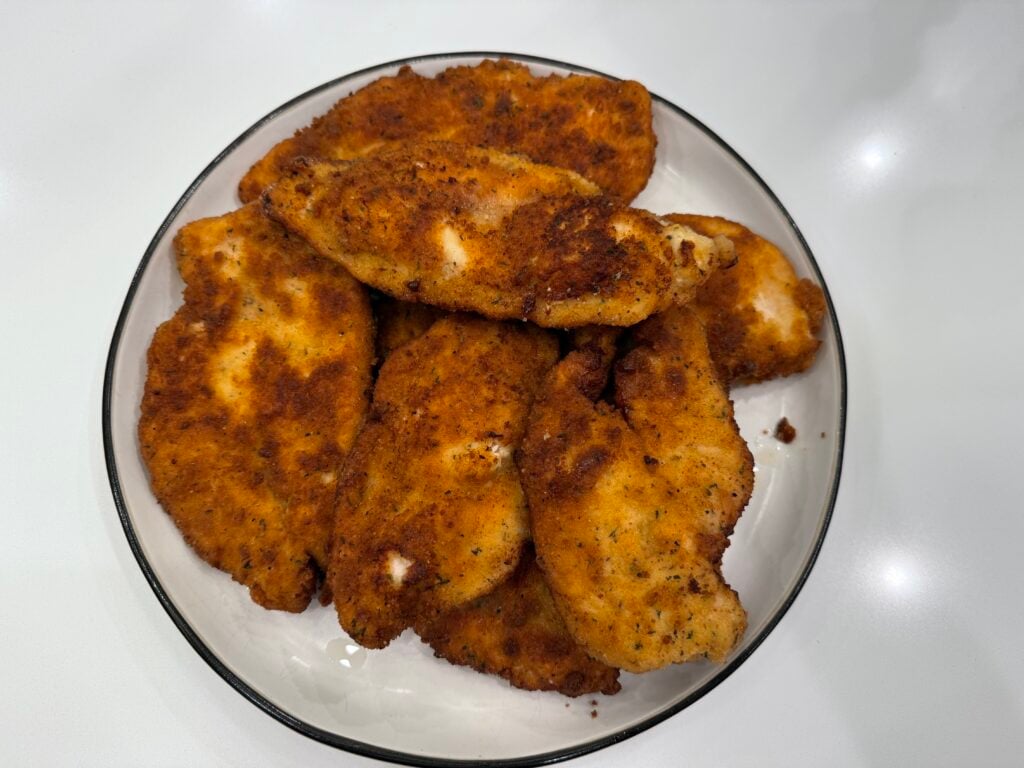
After doing something 500 times during a shift, you tend to master it. You figure out what works and what doesn’t, what steps can be skipped or combined and what shouldn’t be rushed. You know what to do to make a cutlet juicy and golden instead of dry and sad.
When I make cutlets at home, this is how I do it. It’s the same cutlet I use for my chicken parm and is good enough to stand on its own.
Why These Chicken Cutlets Work
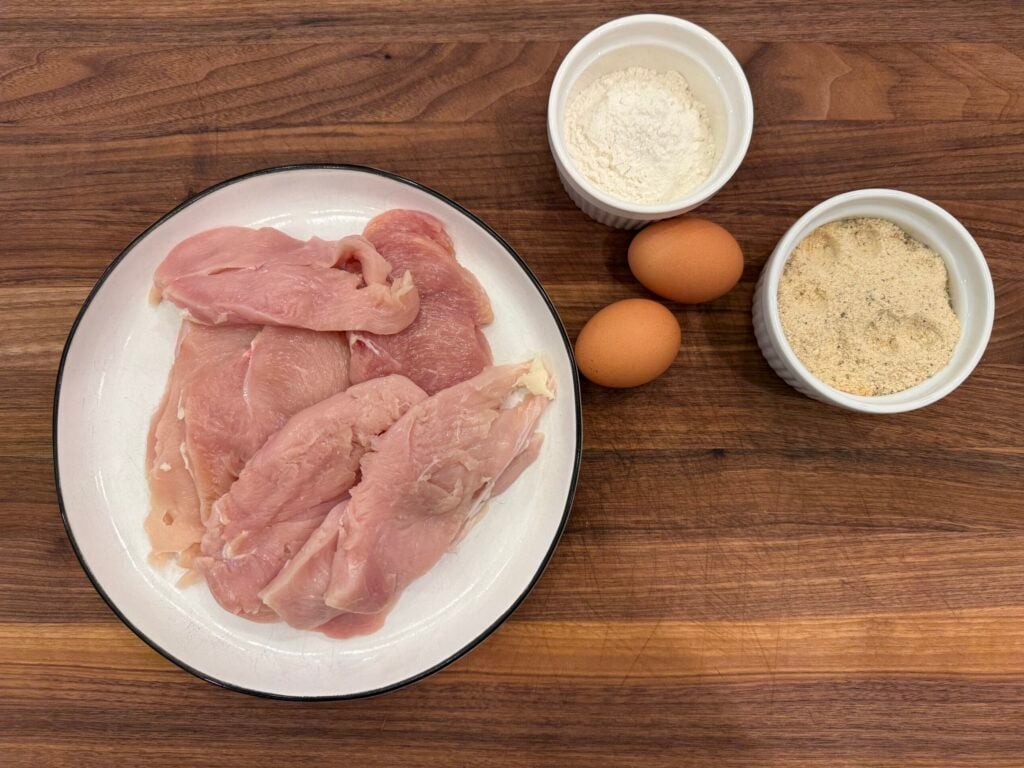
All you need to make these crispy chicken cutlets are chicken breasts, flour, eggs, Italian seasoned breadcrumbs, and good olive oil.
The ingredients are simple and straight-forward, but to get crispy chicken cutlets the chicken must be sliced thin and even, the breading must stick, and the oil temp must be just right. Nail these three elements and you’ll make crispy chicken cutlets every time.
If you get these three things right, you will NEVER purchase store-bought frozen breaded chicken cutlets again!
Slice and Pound for Even Cooking
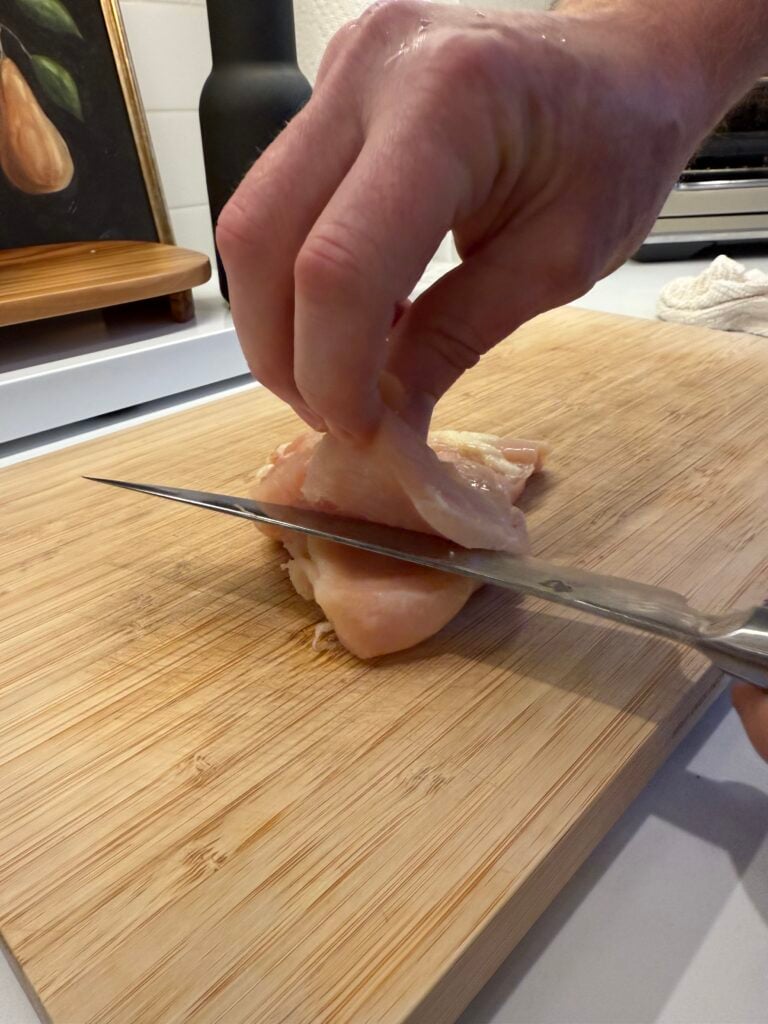
Tender, juicy chicken cutlets start with slicing and pounding. Chicken breasts are not uniform in thickness. If you don’t pound them out, the thin side will overcook and get dry and chewy before the thick side is done cooking. That’s the number one reason I see homemade chicken cutlets turn out tough.
Start by slicing each chicken breast in half horizontally (think of it like opening a book, one breast becomes two cutlets). Next, place each cutlet between two pieces of plastic wrap and pound them with a meat mallet or rolling pin to 1/4 inch thickness, concentrating your pounding on the thickest parts. I like my cutlets to be evenly thin (but not paper thin) so they stay juicy on the inside while getting nice and crispy on the outside.
If you do not have a meat mallet, the bottom of a heavy skillet works just fine.
The Breading Order That Never Fails
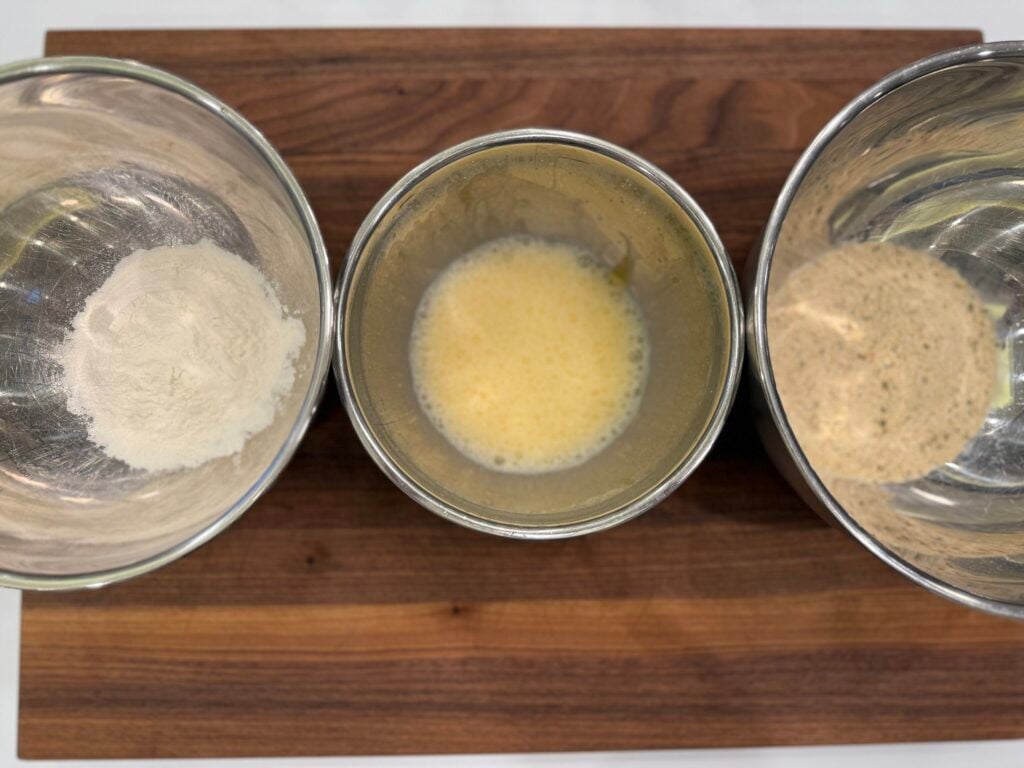
Flour, egg, breadcrumbs. Every. Single. Time. The flour dries the surface of the meat so that the egg will stick to it, the egg allows the breadcrumbs to stick to the chicken. If you skip a step the breading will most likely fall off in the pan.
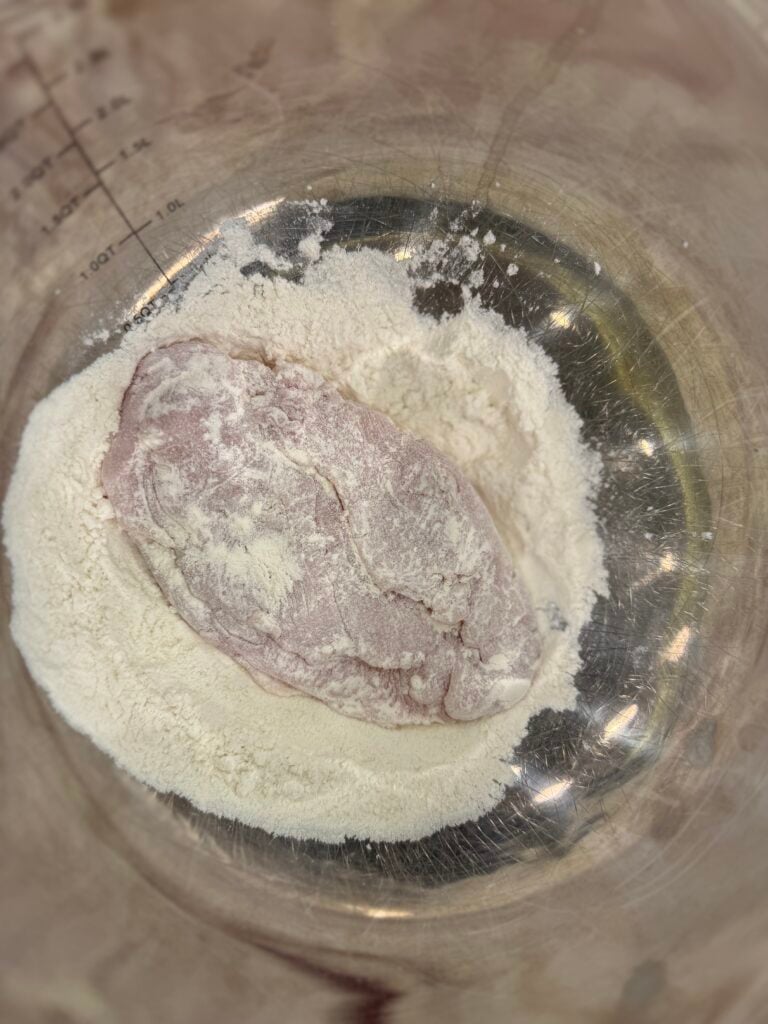
To coat more evenly I add a splash of milk to the beaten eggs. I like to use Italian seasoned breadcrumbs which already have garlic and herbs in them, no measuring required! Sprinkle a bit of salt and pepper in the flour as well.
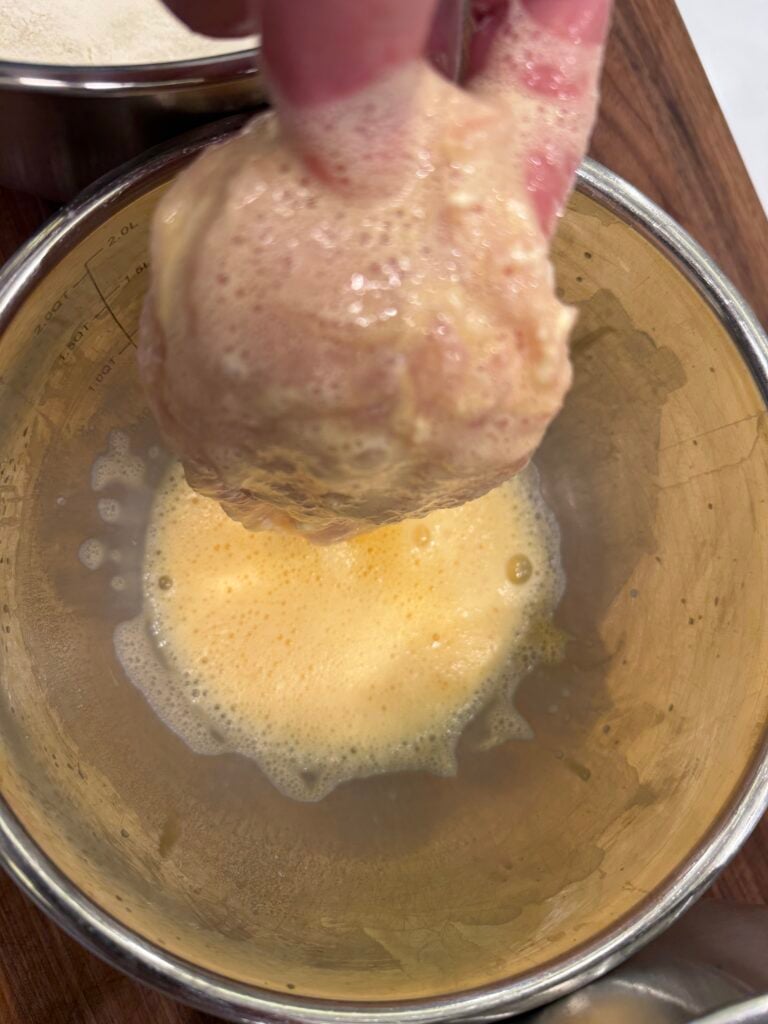
When breading cutlets, assign one of your hands as your “wet” hand and the other as your “dry” hand. Line up the three breading dishes in a row, and use one hand only for dipping in egg, and the other only for flour and breadcrumbs. You’ll be amazed at how much faster you can bread, and you won’t have bready fingers!
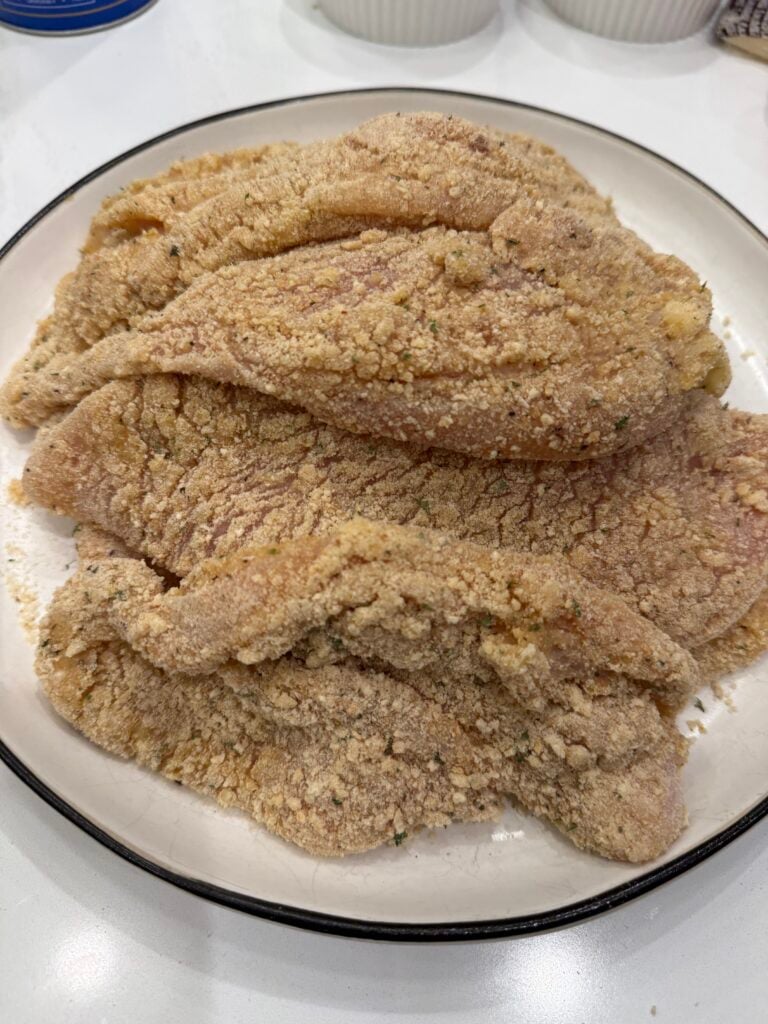
When the cutlet hits the breadcrumbs, give it a firm press on both sides. That pressure is what locks the coating on.
Why I Fry in Extra Virgin Olive Oil
I fry my cutlets in extra virgin olive oil. EVOO gives the cutlets a rich, slightly fruity flavor that neutral-tasting vegetable oil does not provide. My cutlets taste like the ones I get at the deli. Good Italian delis use extra virgin olive oil.
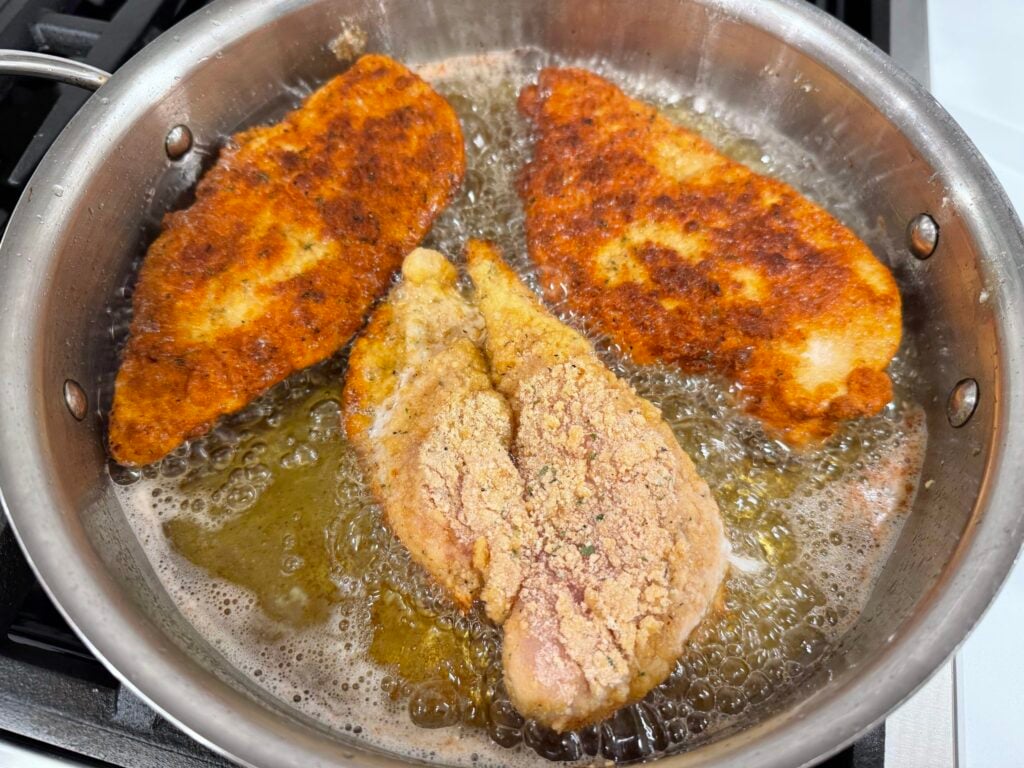
Cook no more than two or three at a time, so the oil remains hot. Otherwise, the temperature will drop and you’ll have greasy, soggy breading instead of crispy.
The heat should be on medium. Too hot, and the olive oil can smoke and the breadcrumbs can burn before the chicken is cooked through. On medium heat, the cutlets should get an even, golden crust in about 3 to 4 minutes per side.
Pan Fried or Air Fried
I use both methods. The air fryer is a bit less messy with less oil. The pan-fried chicken develops the best golden brown crust and has a nice olive oil flavor.
Cook the chicken in a hot pan until golden on both sides or in the air fryer for 10 to 12 minutes at 380°F (flip them halfway through; lightly spray with olive oil before cooking to get them golden brown). Either way, the chicken is ready when it’s 165°F in the thickest part.
Keep Them Crispy After Cooking
For extra crispy cutlets, transfer to a wire rack (not a plate or onto paper towels) when you remove them from the pan.
Allowing air to circulate all around the cutlets keeps them crispy. If you place hot cutlets directly onto a plate, steam can get trapped underneath, softening the bottom side.
Season with salt immediately after frying. It sounds trivial, but this little extra step makes a difference.
Ways to Use Your Chicken Cutlets
Another thing I like about cutlets is that they’re easy to re-purpose into other dishes. Chicken parm is my favorite! Just top the cooked cutlets with sauce, mozzarella and parmesan cheese and bake until bubbly. You can also serve them in a sandwich on a toasted roll with lettuce and a little sharp provolone, sliced over a Caesar salad, with pasta and a squeeze of lemon, or by the piece, straight off the rack. (I can’t even count how many times I’ve done that one. Don’t judge me!)
Storing, Reheating, and Freezing
Skip the microwave, which can soften the breading. Instead, place leftover cutlets in the air fryer or in an oven set to 350°F and reheat until warmed through. Leftover cutlets will keep for up to 3 days in the fridge, stored in an airtight container.
You can also freeze the breaded chicken cutlets before you cook them: Place them on a baking sheet and freeze until solid, then transfer them to a freezer bag. When you’re ready to eat, place them right into the oven or air fryer and cook until hot throughout, adding a few extra minutes of cooking time per side for frozen cutlets.
From 500 Cutlets to Dinner at Home
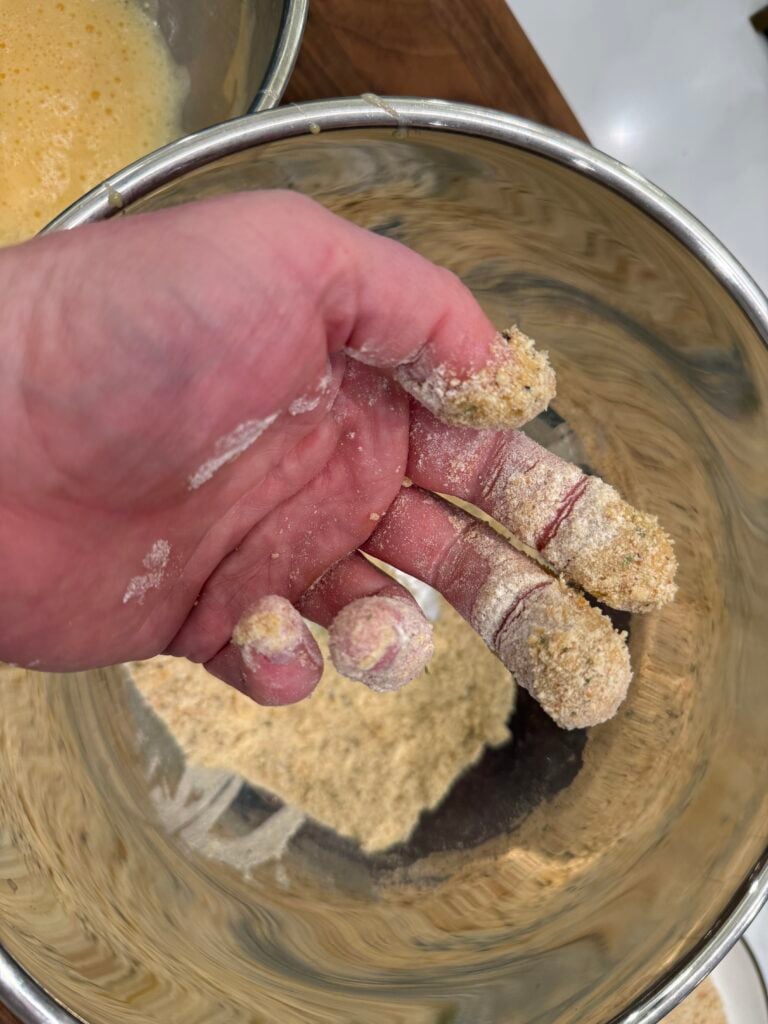
That job in high school felt like a grind at the time, but it gave me a skill I still use every week. You do not need to make 500 cutlets to get good at this. Slice them, pound them, bread them in the right order, and fry them in good olive oil. Do that and you will have crispy, juicy chicken cutlets that beat anything from the freezer aisle. Make sure you wear gloves when dredging or your fingers get coated as well. ha
Ingredients
- 3 large boneless skinless chicken breasts
- 1 cup all-purpose flour
- 1 1/2 teaspoons salt
- 3/4 teaspoon black pepper
- 2 large eggs
- 3 tablespoons milk
- 3 cups Italian seasoned breadcrumbs
- 3/4 cup extra virgin olive oil for frying
Instructions
- Slice each breast in half horizontally.
- Pound cutlets to 1/4 inch thick.
- Mix flour, salt, and pepper in a dish.
- Whisk eggs and milk in a second dish.
- Add breadcrumbs to a third dish.
- Dredge in flour, then egg, then breadcrumbs.
- Heat olive oil in a skillet over medium heat.
- Fry 3 to 4 minutes per side until golden.
- Rest on a wire rack and salt lightly.


Add comment