

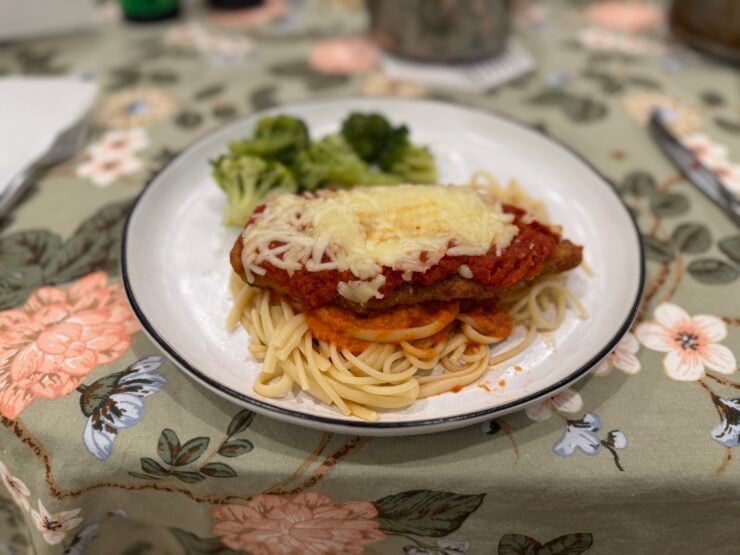
Some people learn to cook from their mom or maybe their grandmother. I learned to make chicken cutlets from a walk-in cooler full of raw chicken breasts and a dinner service that didn’t care how tired I was.
Back in high school I got a job as a prep cook at a local retirement home. I figured it would be an easy job. Chop some onions, wash some dishes, go home. Then one afternoon the chef pointed to a mountain of chicken breasts and told me they all needed to be cutlets by dinner. More than 500 of them.
I remember standing there thinking there was no way I can do this in time. But the residents ate at the same time every night, and dinner wasn’t going to wait for a teenager to figure things out. So I figured it out.
My First Cutlets Were a Disaster
I’m not going to pretend I was a natural. My first batch was rough. Some cutlets were thick in the middle and thin on the edges. Some had breading sliding right off in the pan. My hands were caked in a paste of flour and egg, and I was going through breadcrumbs way faster than I should have been.
If you have made chicken cutlets at home and ended up with dry edges, a raw center, or breading that peels off like a jacket, trust me I’ve been there. Hundreds of times, actually.
But when you make 500 of something in one shift, you learn fast. You find every shortcut, every mistake, and every little trick that makes the job easier next time. By the end of that day, I could slice, pound, and bread a cutlet almost without thinking about it. And they came out golden, crispy, and juicy every time.
That’s the method I’m sharing with you today. It’s the same one I still use at home with a lot fewer cutlets.
Chicken Parm is Really About the Cutlet
Here’s something I wish someone had told me earlier. Chicken parm is really two recipes. There’s the cutlet, and then there’s the parmesan.
Most people focus on the sauce and the cheese. But the cutlet is what makes or breaks the whole dish. A soggy, uneven cutlet covered in great sauce is still a soggy, uneven cutlet.
Once you get the cutlet down, the parm part takes about five minutes. You just top it with sauce and cheese and let the oven do the rest.
Lesson One: Slice and Pound
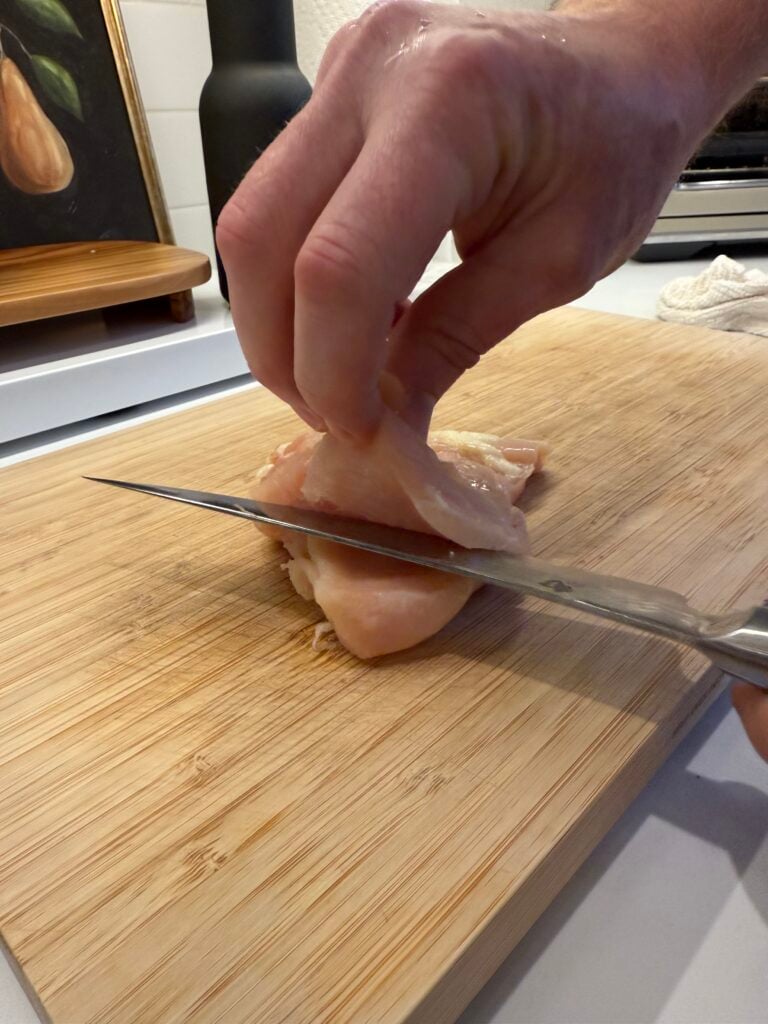
Chicken breasts are shaped like teardrops. They’re thick on one end and thin on the other, which is exactly why they cook unevenly.
Back at the retirement home, I learned to slice every breast in half horizontally, like opening a book. That turns one giant breast into two manageable cutlets. Then I’d pound them flat to about 1/4 inch thick.
Pounding hundreds of cutlets will give you a serious forearm workout, by the way. At home, it takes a couple of minutes and its actually a little therapeutic after a long day.
The goal is even thickness, not paper thin. Even cutlets cook evenly, and that’s the secret to juicy chicken with no raw spots.
Lesson Two: The Breading Station Is Everything
This next part is an assembly line process that would make Henry Ford proud.
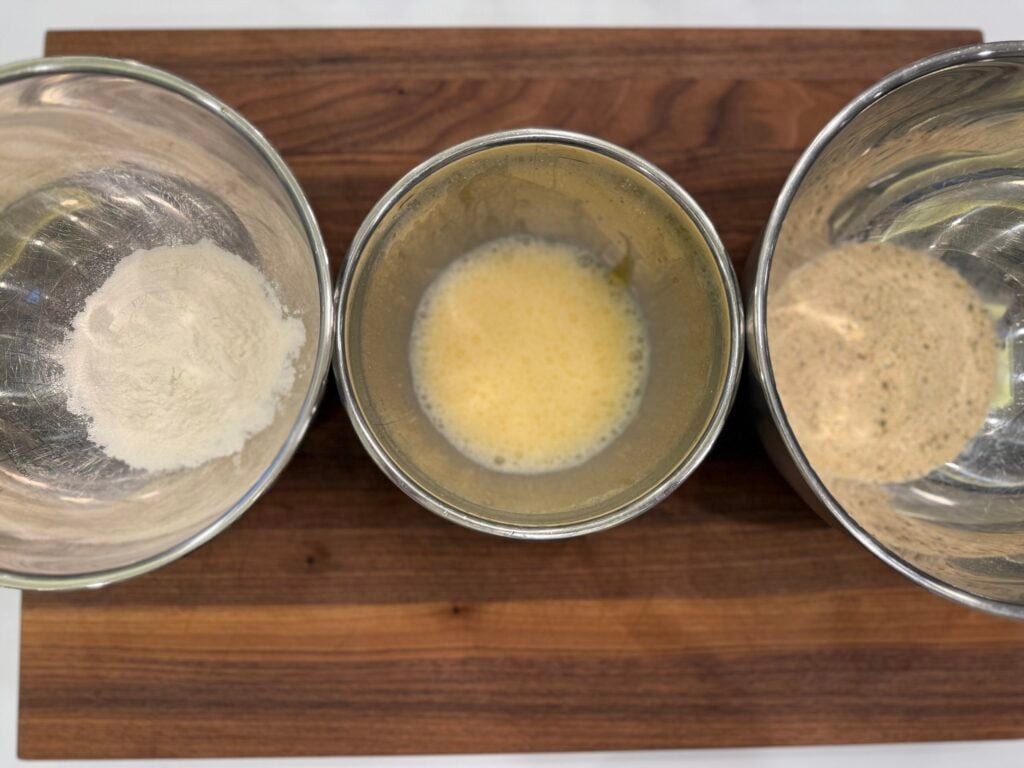
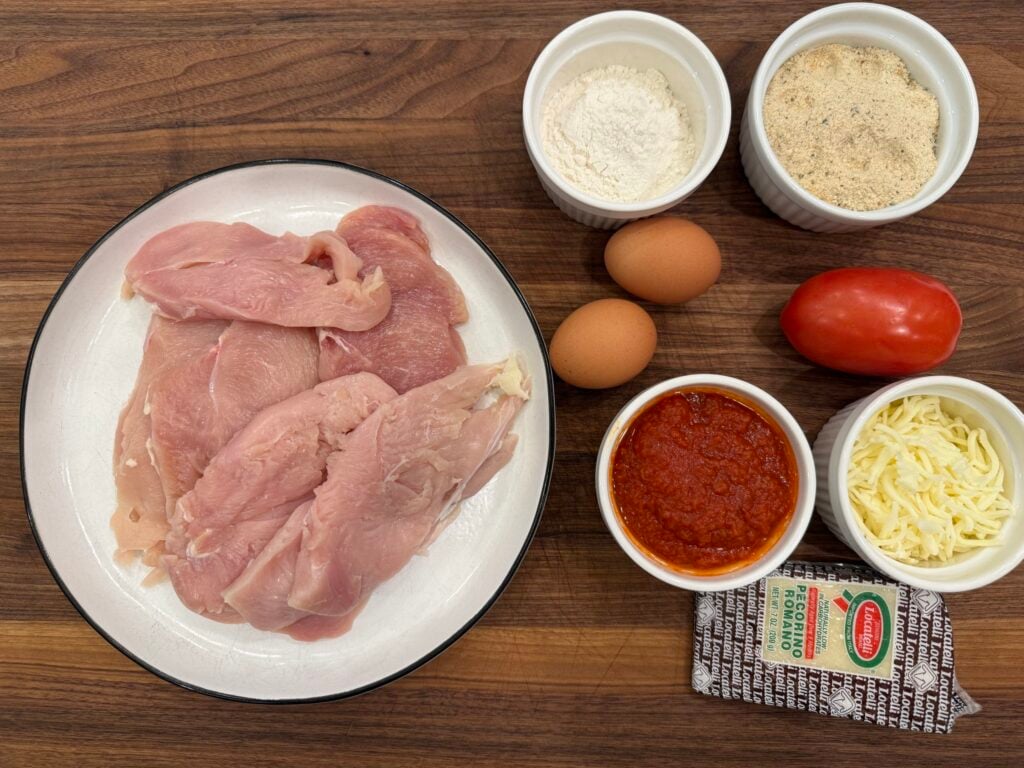
When you’re breading hundreds of cutlets, you can’t afford a messy setup. So I learned to line up three dishes in a row: seasoned flour, egg wash, and Italian seasoned breadcrumbs.
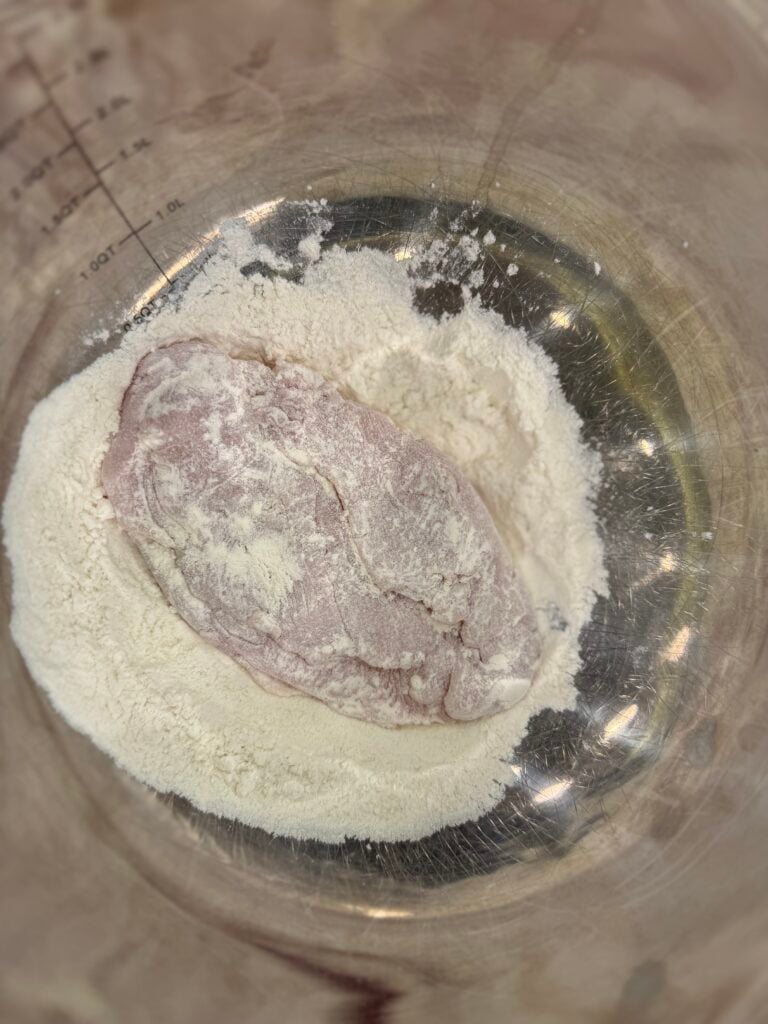
Each step has a job. The flour dries the surface so the egg can stick. The egg acts like glue for the breadcrumbs. Skip the flour and your breading will slide right off in the pan. I learned that one the hard way.
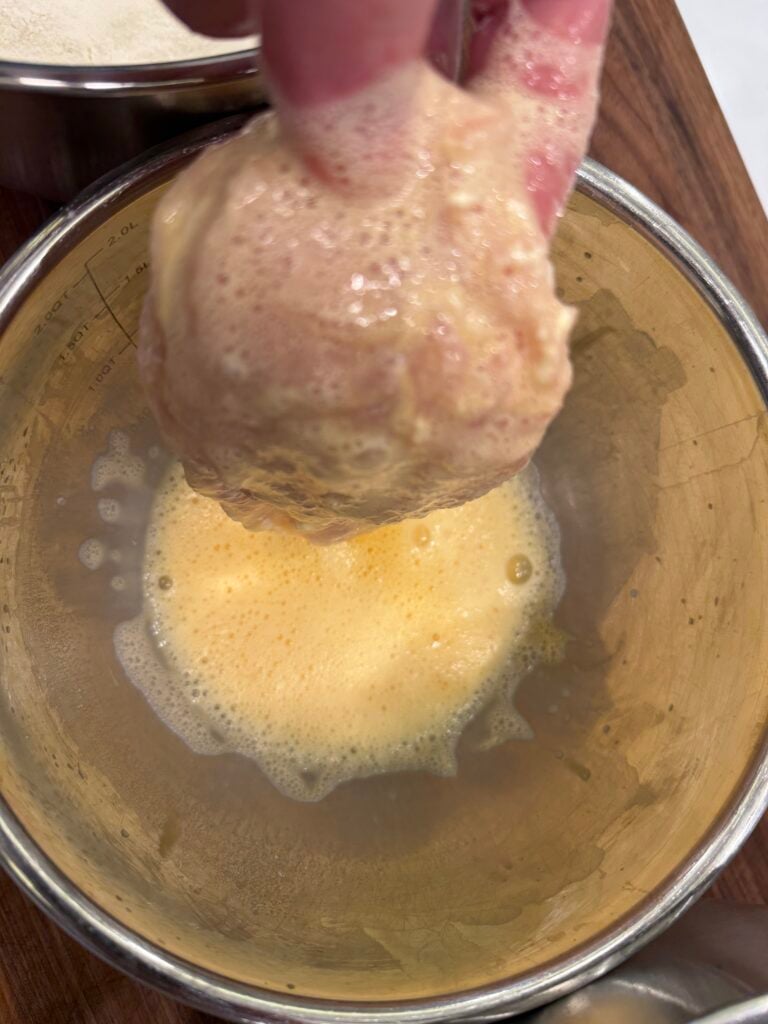
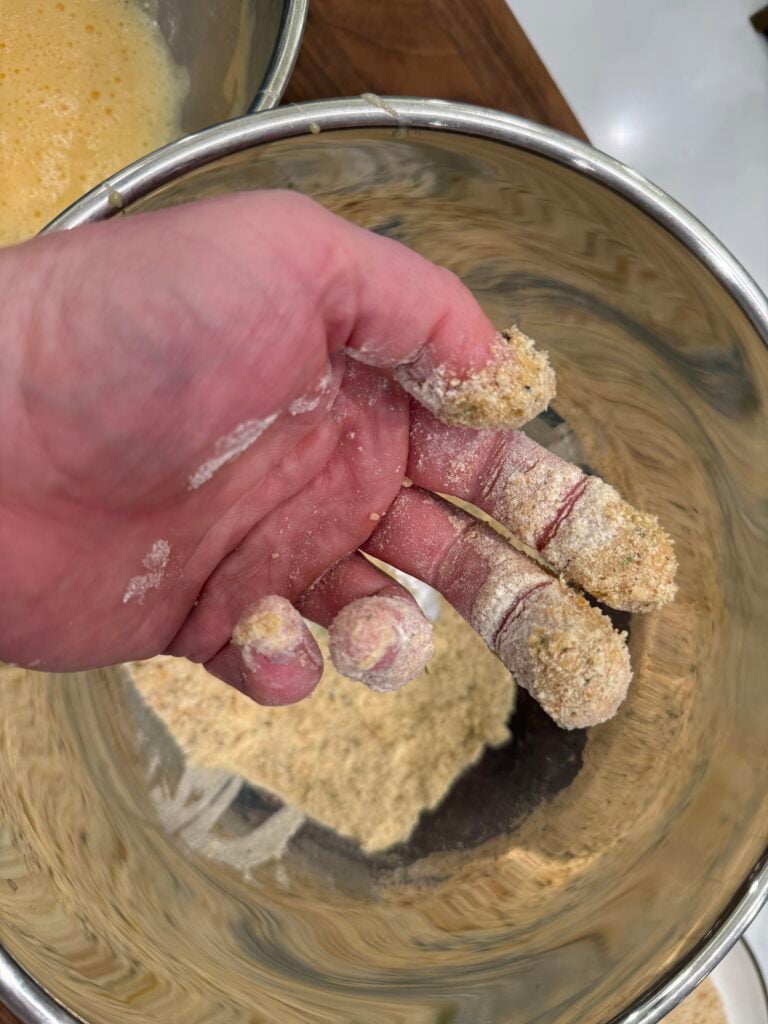
The other trick that saved me was the “dry hand, wet hand” method. Use one hand for the flour and breadcrumbs and the other hand for the egg. It sounds small, but it keeps your fingers from turning into breaded clubs. When you’re doing hundreds, that matters a lot. When you’re doing four, it still makes cleanup way easier.
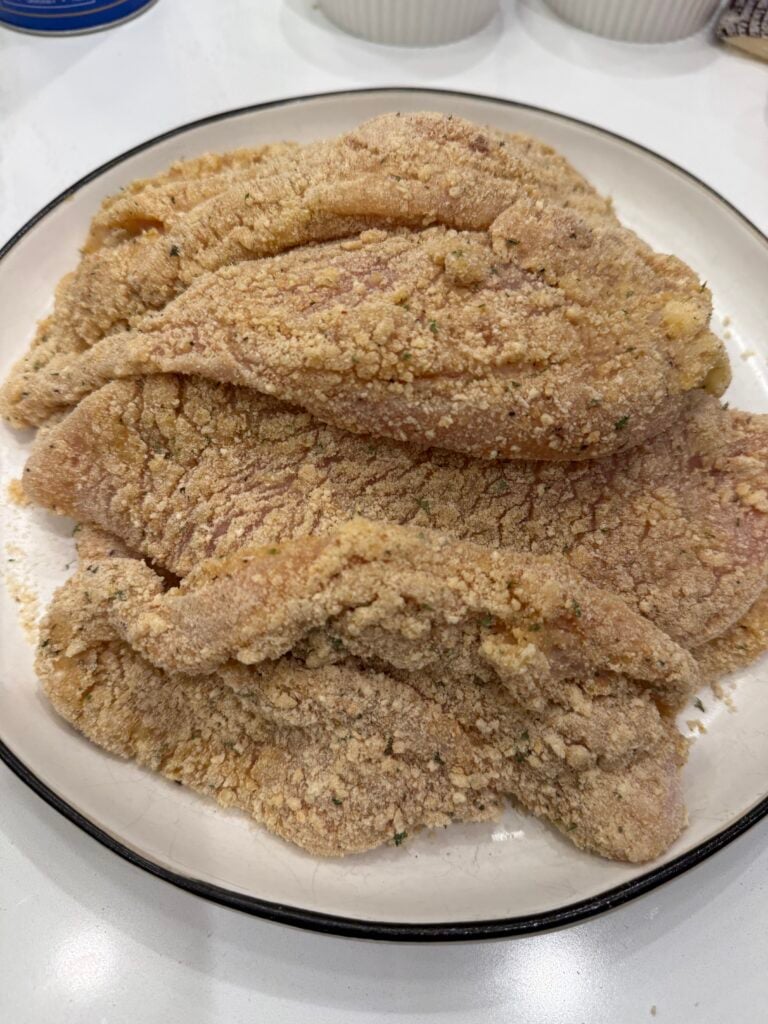
And press those breadcrumbs on. Don’t just dip and lift. Give each cutlet a firm press so the coating really grabs on.
Lesson Three: Cook Them in Olive Oil
I cook my cutlets in extra virgin olive oil. Some people think that’s crazy, but I love the flavor. It gives the crust a richer, slightly fruity taste that vegetable oil just doesn’t have.
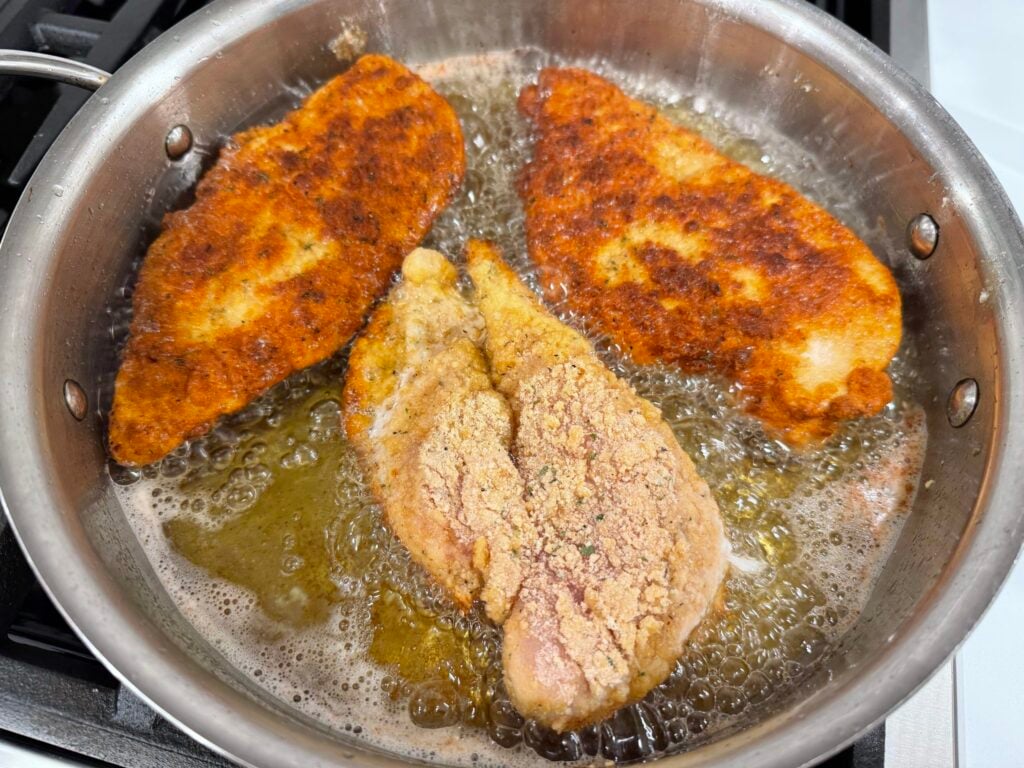
The key is medium heat. Olive oil can smoke if the pan gets too hot, and you’ll end up with burnt breading and undercooked chicken. Medium heat gives you a steady sizzle and a deep golden crust.
Don’t crowd the pan either. Two or three cutlets at a time is plenty. Too many at once drops the oil temperature, and that’s how you get greasy, soggy breading.
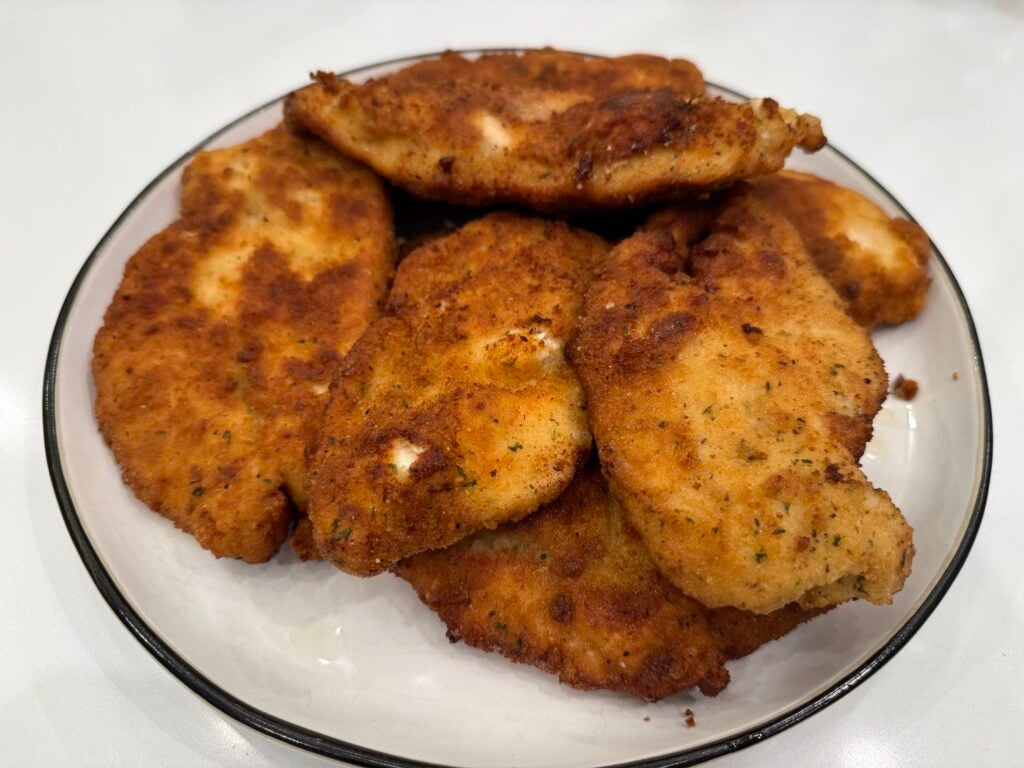
If you don’t want to stand over a hot pan, the air fryer works great too. Honestly, pan fried or air fried are the two best ways to make these. The air fryer is less mess and uses less oil, and you still get a nice crunch. On busy weeknights, that’s usually my move.
The Easy Part: Making It Parm
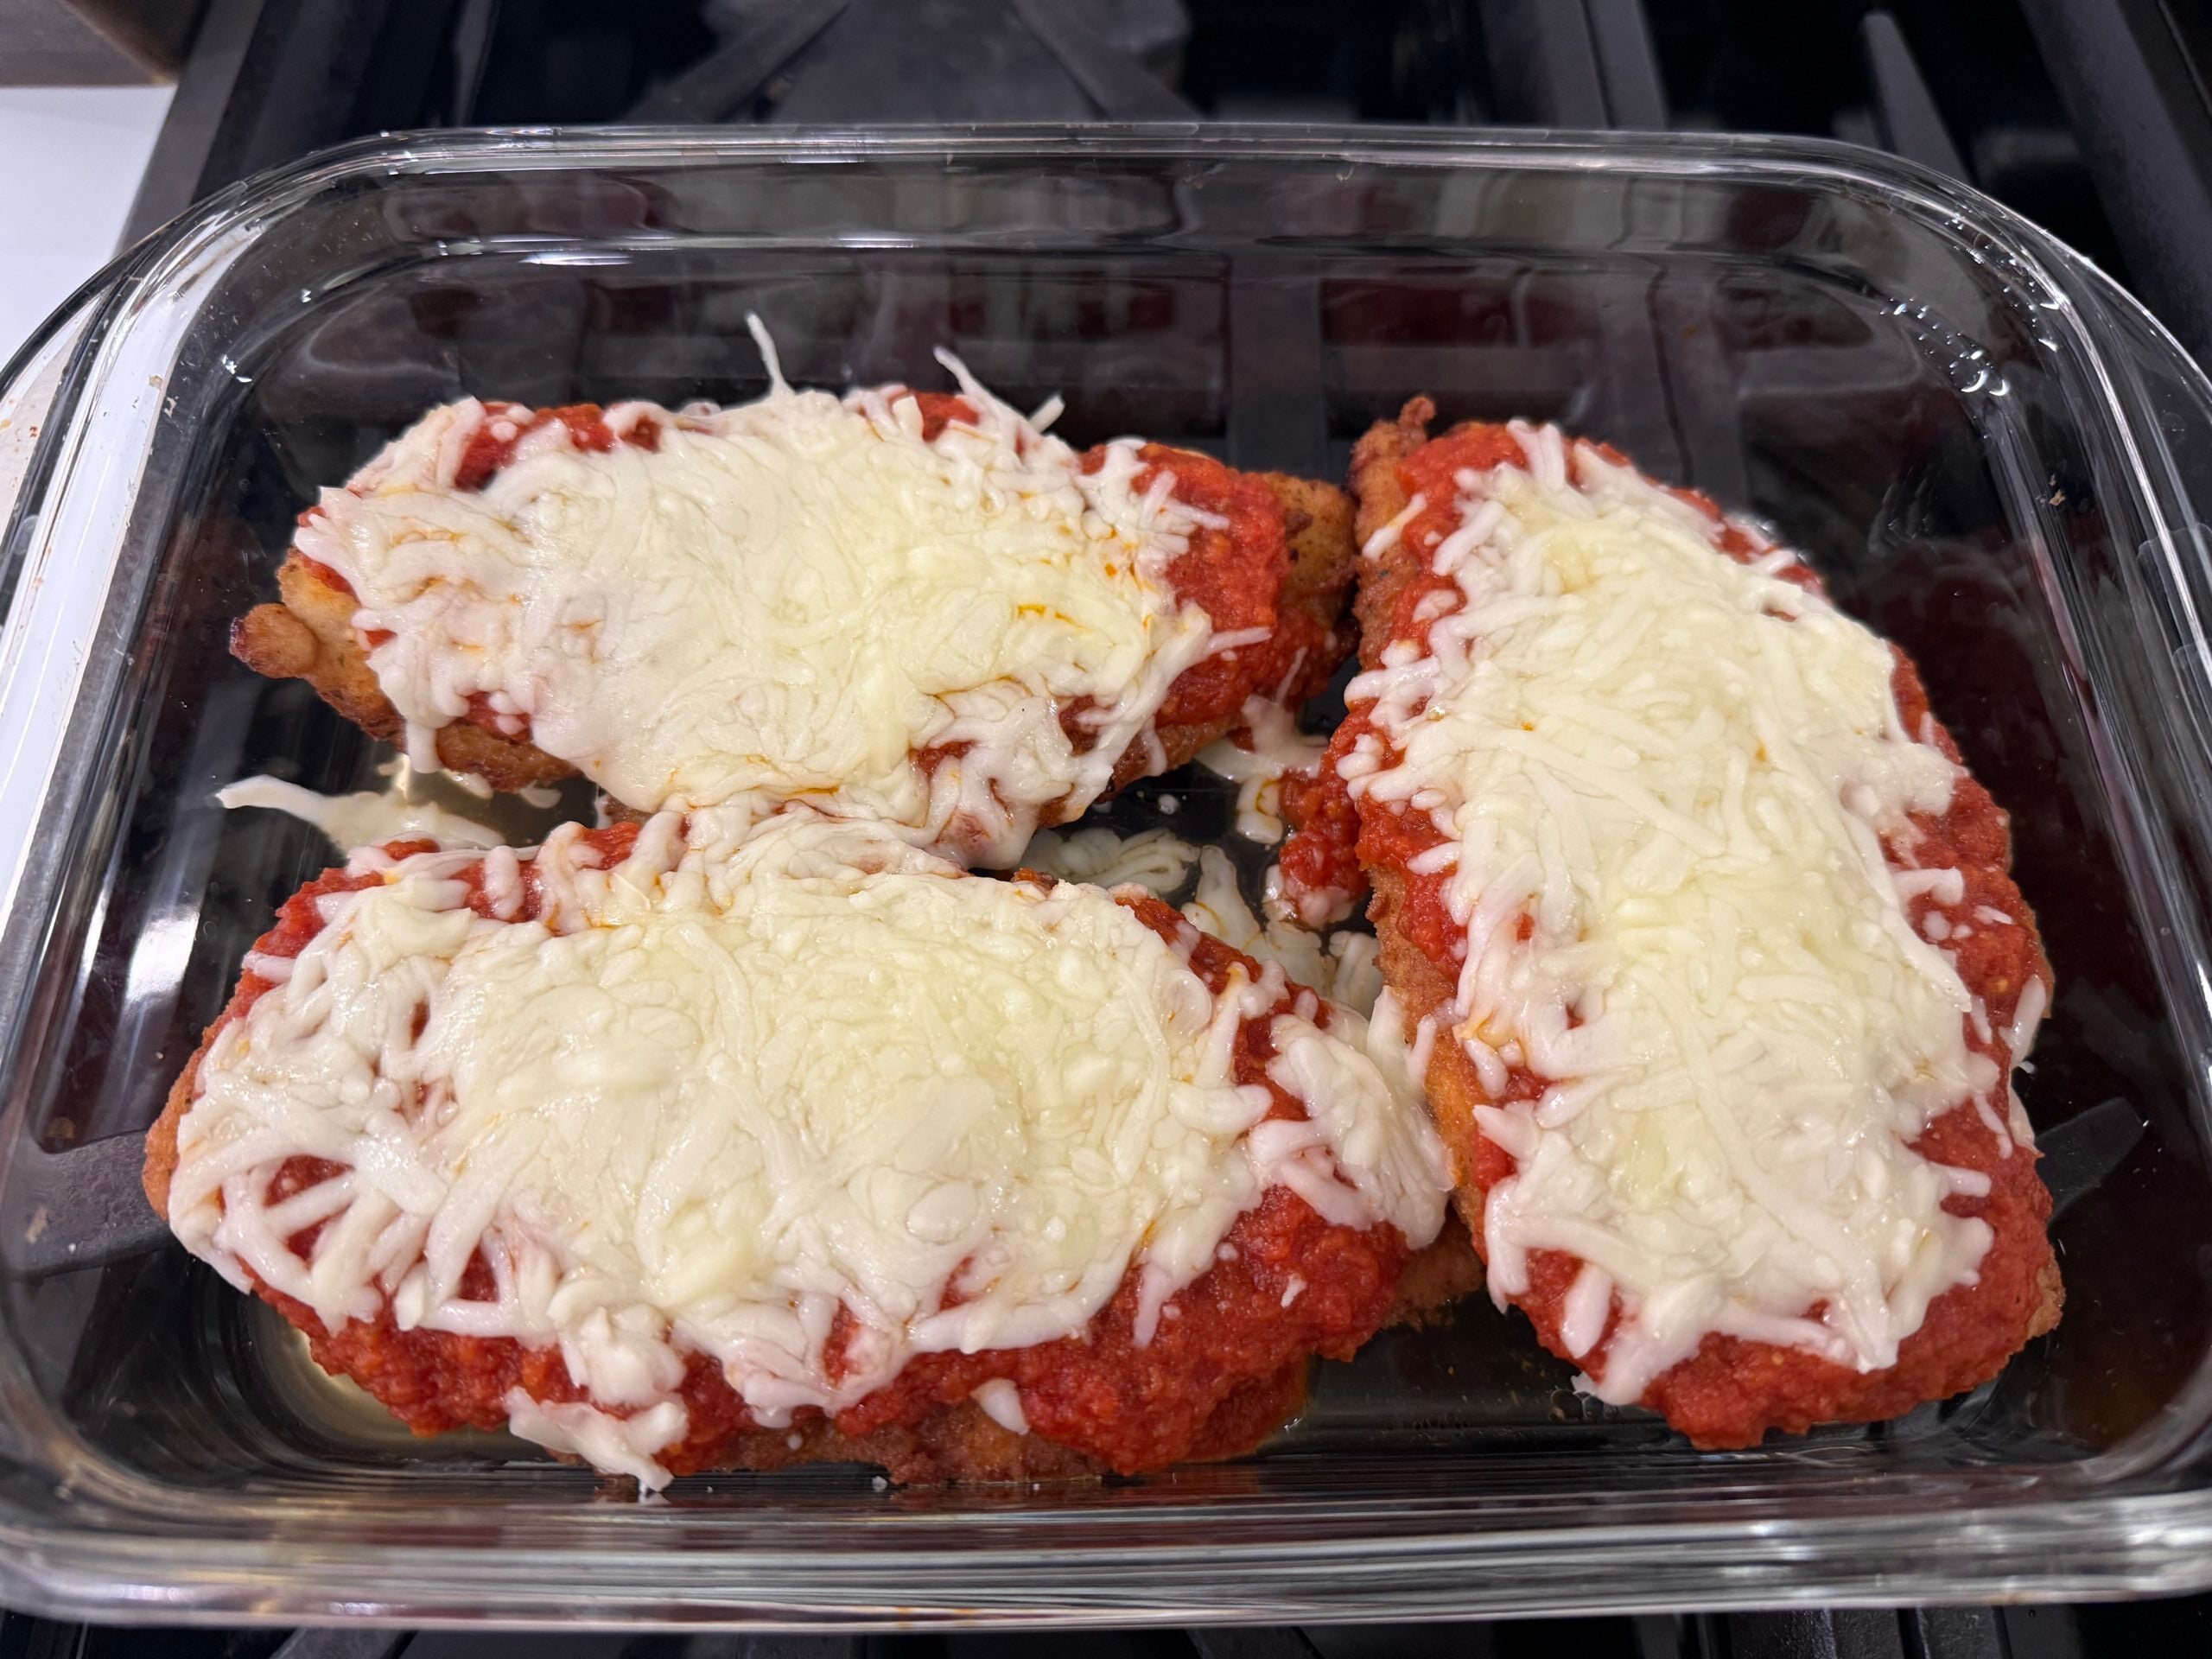
Once your cutlets are cooked, you’re basically done. Spoon some sauce on top, add mozzarella and parmesan, and bake until the cheese is melted and bubbly.
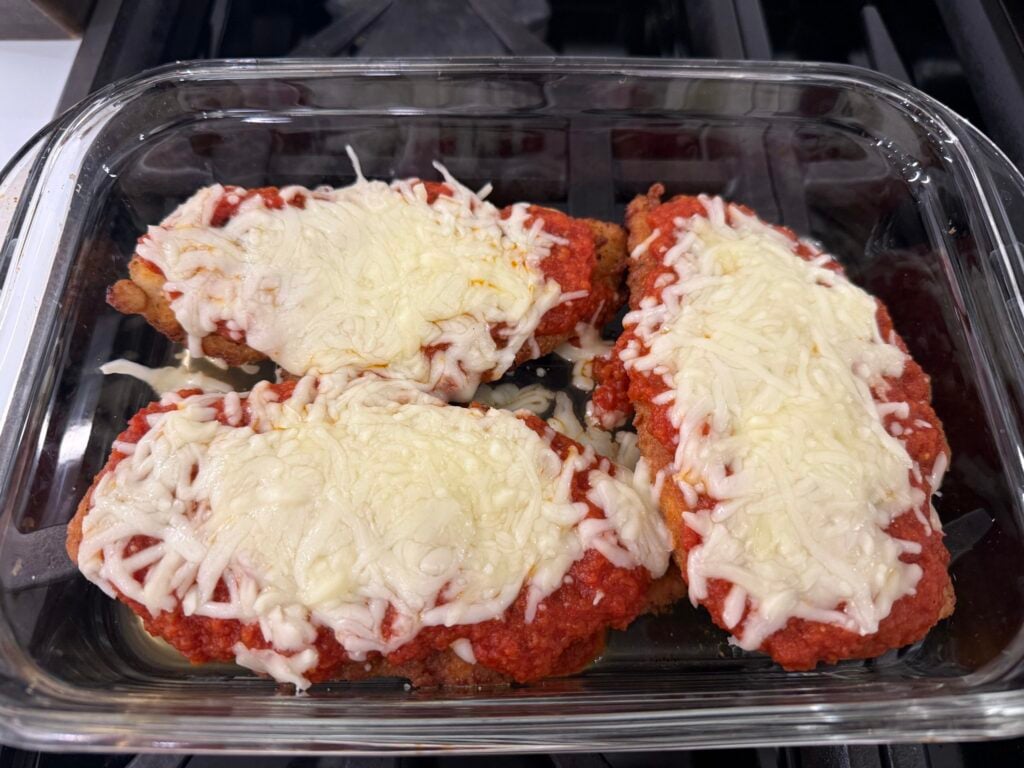
I only put sauce on top of the cutlet, never underneath. That way the bottom stays crispy instead of turning to mush. After all that work on the breading, you want to keep that crunch.
Why I Always Use Don Pepino Sauce
I’ve tried a lot of sauces over the years, and Don Pepino is my favorite. It’s simple, bright, and tastes like actual tomatoes. There’s no heavy, sugary taste like some jarred sauces have.
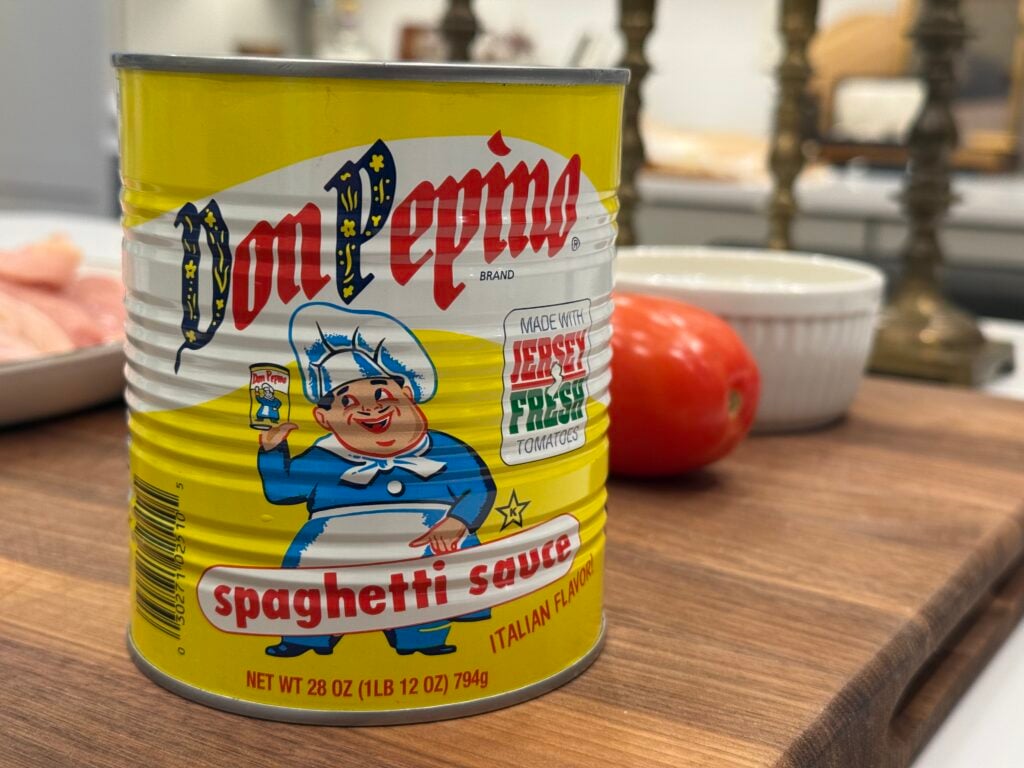
It’s technically sold as a pizza sauce, but that’s exactly why it works so well here. It’s thick enough to stay on top of the cutlet without running everywhere, and the fresh tomato flavor balances out the rich, fried chicken and melted cheese.
If you can’t find it, use your favorite marinara. But if you see Don Pepino at the store, grab a can and thank me later.
What to Serve With Chicken Parmesan
Spaghetti with extra sauce is the classic, and it’s hard to beat. Garlic bread is a must at my house. If you want something a little lighter, a Caesar salad or roasted broccoli works great.
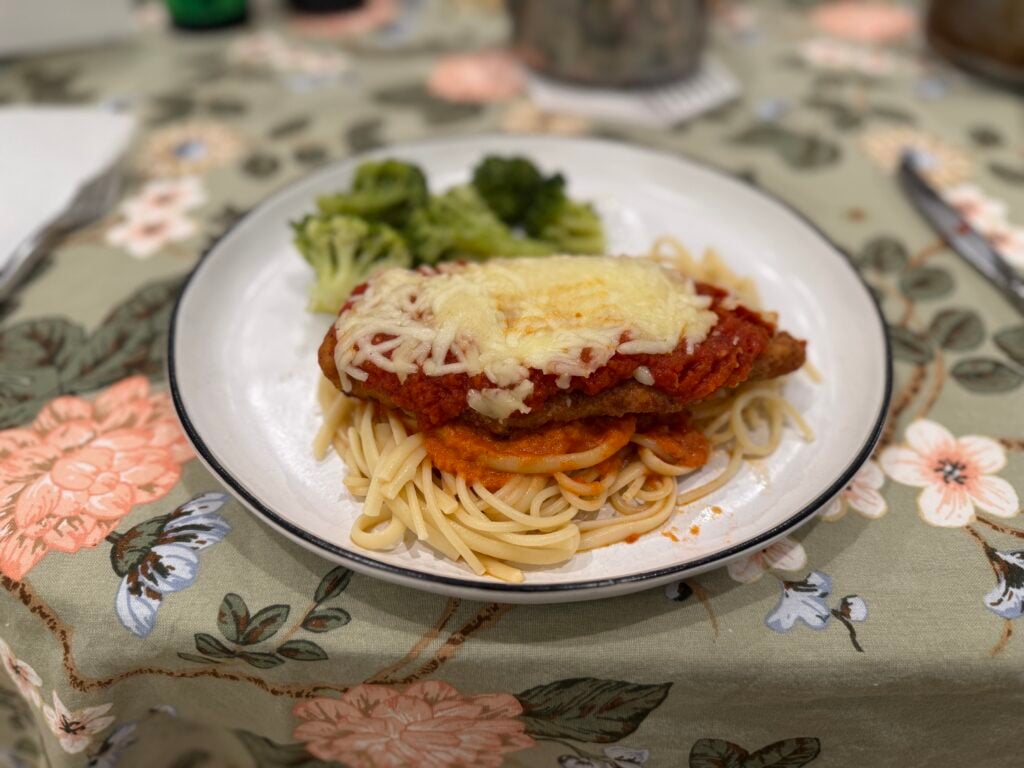
And if you have leftovers, put a cutlet on a toasted roll with a little extra sauce and cheese. A chicken parm sandwich the next day might be even better than the original.
Storing and Reheating
Store leftovers in an airtight container in the fridge for up to 3 days. Reheat in the air fryer or oven at 350°F until warmed through. Try to skip the microwave, since it softens the breading.
You can also freeze breaded, uncooked cutlets. Lay them flat on a baking sheet, freeze until solid, then move them to a freezer bag. That’s a trick I picked up from all those years of prepping ahead, and it makes future dinners super fast.
Ingredients
Method
- Preheat oven to 400°F.
- Slice each chicken breast in half horizontally.
- Pound cutlets to 1/4 inch thick.
- Mix flour, salt, and pepper in a shallow dish.
- Whisk eggs and milk in a second dish.
- Add breadcrumbs to a third dish.
- Dredge each cutlet in flour, then egg, then breadcrumbs.
- Heat olive oil in a large skillet over medium heat.
- Fry cutlets 3 to 4 minutes per side until golden.
- Transfer cutlets to a baking sheet.
- Top each with sauce, mozzarella, and parmesan.
- Bake 8 to 10 minutes until cheese is bubbly.
- Garnish with basil and serve.
Tried this recipe?
Let us know how it was!From 500 Cutlets to Four
It’s funny. That job felt like a grind at the time, but it gave me a skill I’ve used my whole life. Every time I make chicken parm now, I think about that kitchen, that pile of chicken, and how proud I felt when dinner went out on time.
You don’t need to make 500 cutlets to get good at this. Just follow these steps, take your time, and you’ll have crispy, juicy chicken parm that tastes better than most restaurants.


Add comment